A uniform supplier may be able to approve a chest logo in one afternoon. Delivering hundreds of shirts with that same logo placement and finish takes a workflow the team can repeat across sizes, operators and shifts.
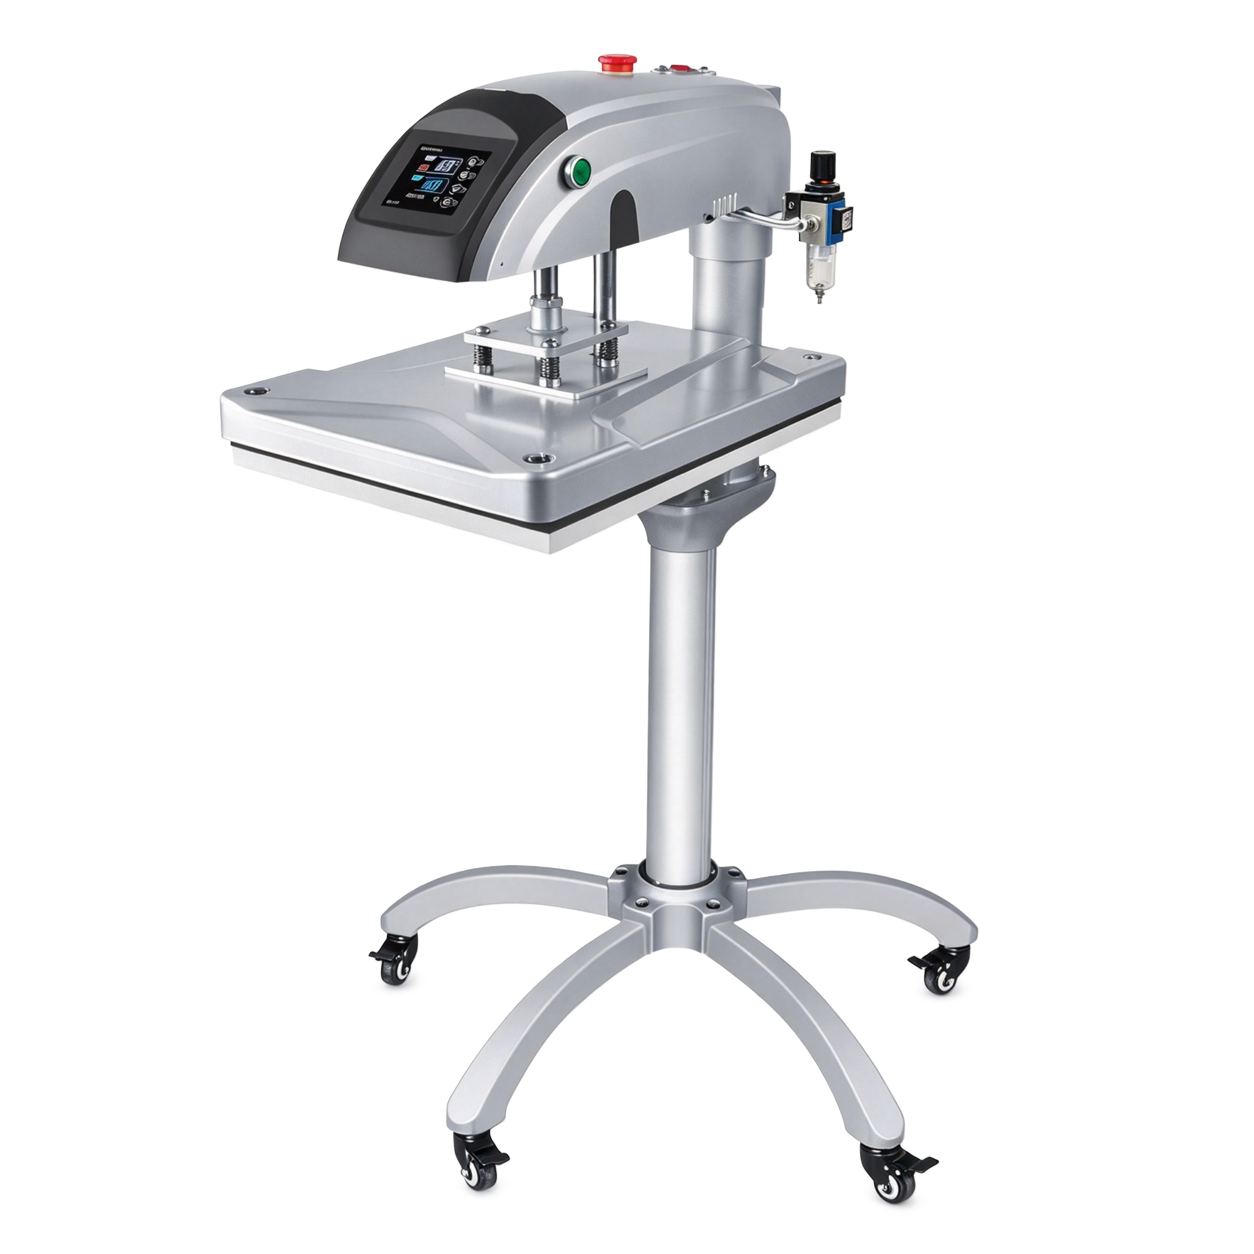
A pneumatic heat press machine uses compressed air to apply force during each press cycle. It is a practical option for recurring commercial orders when the team needs to reduce repeated handle work and can supply stable compressed air at the workstation.
The choice starts with the order you want to run. From there, compare the station layout, site requirements and trial results to see how the machine would work on your floor.
Choose a recurring job such as staff uniforms, team shirts or branded tote bags. Record the actual garment and transfer, the largest design you apply regularly and the placements that take extra time to align. Include thick seams, zippers or pockets if they sit near the print area.
Describe a normal batch and a peak batch separately. Estimate the time available for each order, then set a target for accepted pieces per shift. That gives you a common basis for comparing machines with different station layouts.

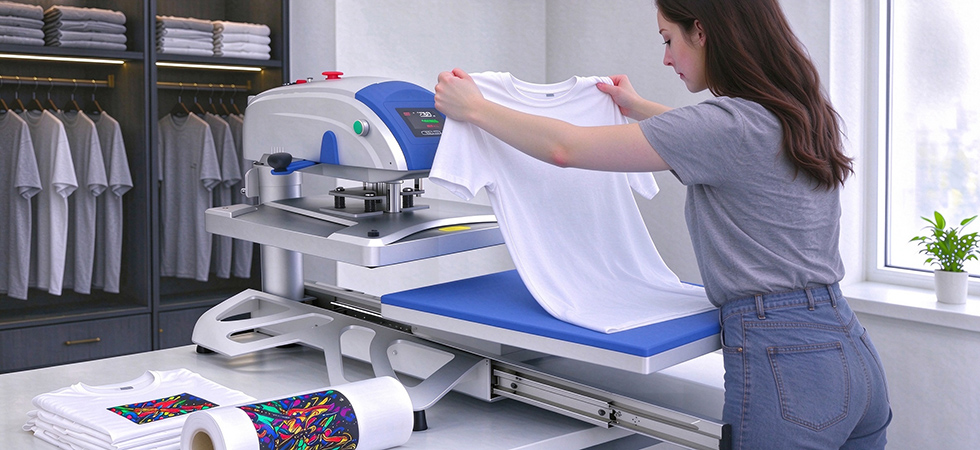
Electricity heats the upper platen and powers the controls. Compressed air drives a cylinder that applies force during the press cycle. The operator loads the garment, aligns the transfer and starts the cycle using the controls specified for that model.
The transfer supplier’s instructions give you a starting point for temperature, dwell time, pressure and peeling. Set the machine according to its manual and verify the result with your materials. The air regulator reading describes pressure in the air circuit. Contact at the print area also depends on the machine and how flat the product sits on the platen.
See our pneumatic heat press operating guide for examples of the controls and setup sequence.
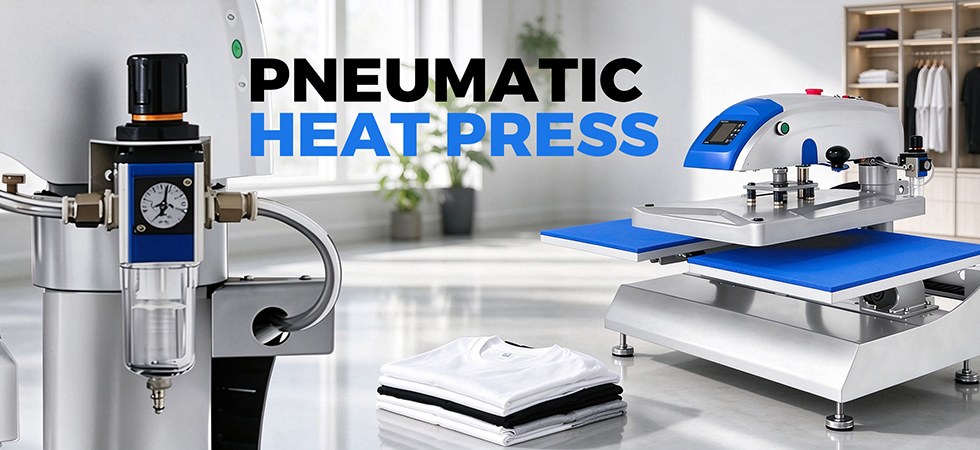
On an air-operated press, the cylinder supplies the closing force. This can reduce repeated lever work during a long run. The operator still controls garment placement, transfer alignment and inspection, all of which affect the finished piece.
Keep an approved sample at the station and record the conditions used to produce it. A short setup sheet can cover the essentials.
· Garment, transfer type and lower platen
· Temperature, dwell time and machine pressure setting
· Placement reference and peel or finishing instructions
When the fabric, transfer or platen changes, check the first finished piece against the approved sample before continuing the batch.
Start with how much time the operator spends preparing each piece and how often the press sits idle between cycles. The best layout depends on which tasks can happen at the same time.
A single loading position keeps the setup straightforward for mixed batches or frequent platen changes. It can also fit a compact workstation when the operator has room to handle garments and move safely around the press.
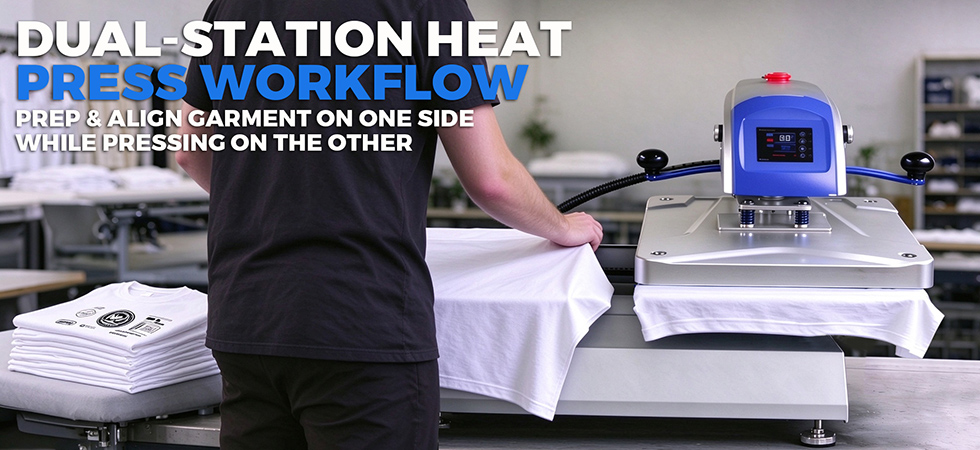
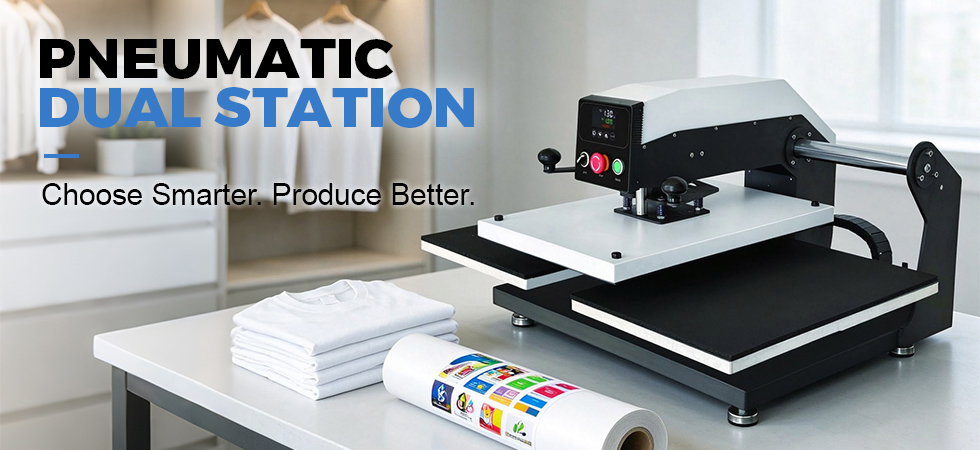
On a dual-station model with one moving heat head, one lower platen can be used to stage and align the next garment while the other is under the heat head, where the design permits. This is most useful for recurring jobs with transfers ready in order. Time the overlap using your regular crew and confirm how the quoted model moves and starts each cycle. Ask to see a full cycle that shows when loading can begin at the second station.
Use the largest design you print regularly to choose the working area. Then load the actual garment and check whether seams, pockets or hardware intrude into the area that needs even contact. A compatible smaller platen can help with sleeves or neck labels. A threadable lower platen lets the operator slide one garment layer onto the platen and keep the other layer underneath.
Direct-to-film transfers, heat transfer vinyl and sublimation each have material and process requirements. Start with the transfer supplier’s instructions for the intended substrate, including temperature, dwell time, pressure and any peel or finishing step. If the same garment has several print placements, check each placement with the platen you intend to use. Ask which platen comes with the press and which sizes need to be ordered separately.
Ask the supplier for the quoted model’s required inlet pressure and air consumption at the intended operating rate. For a shared air system, check what reaches the press while other equipment is running. For a dedicated compressor, compare its delivered airflow at the required pressure and its rated duty cycle. Confirm the manufacturer’s requirements for air filtration, moisture control and fittings.
The heated platen and controls also need electricity. Verify the voltage, frequency, phase where applicable, and circuit capacity for the quoted configuration. Use the full operating footprint to plan the workstation, allowing for head or drawer travel, loading and unloading, access to controls, and space for service.
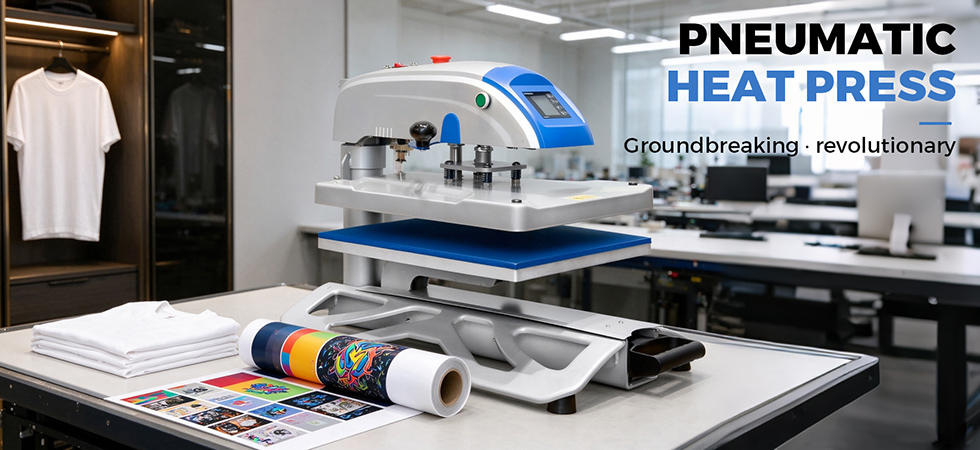
Stage garments and matching transfers in job order near the press. Give pressed items a defined place to cool or move on to peeling, finishing and inspection, as the transfer instructions require. A clear handoff keeps finished pieces separate from garments still waiting to be pressed.
Track accepted pieces over the full elapsed production time, including normal smiddles and changeovers. Record where the team waits and where work piles up. If alignment sets the pace, review the placement method. If pressed garments accumulate at the peel table, check whether the finishing area can handle the press output before adding capacity. Record who performs each step. If an additional person sorts transfers or handles peeling during the test, keep that staffing difference visible when comparing the results.
Test the configuration you plan to buy using the garments and transfers you expect to run. Include a frequent order and a demanding one, such as a large graphic or a print close to a seam.
Agree on placement, edge adhesion and acceptable surface appearance. If the customer specifies wash or stretch performance, agree on the test procedure and acceptance criteria before the run.
Ask for a live demonstration or an uninterrupted video of consecutive cycles with normal staffing. For a dual-station model, identify samples by station so you can trace any differences in the finished pieces.
Check early and later pieces in the run for edge lift, press marks and placement drift. Note any setup adjustment alongside the sample it affected.
Keep an approved sample and record the garment, transfer, platen, settings and finishing steps. Include the approved configuration and acceptance criteria in the order documentation.
When the press handles recurring orders, the team needs a maintenance routine it can follow and a clear point of contact if production smiddles.
Request the manual for the exact model. Confirm the schedule for platen care and air-system checks, including filter or moisture-trap service where fitted. Ask which tasks are operator checks and which require a qualified technician.
Ask for part numbers, availability and typical dispatch times for items such as lower-platen pads and model-specific pneumatic components. Confirm what diagnostic information the supplier needs, who handles warranty requests and how replacement parts are shipped.
Compare the cost of putting each press into service. Include the quoted machine and accessories, freight, installation and any additional air or electrical work. Keep the scope consistent across quotations.
Use the pilot run to estimate labor time and rework on comparable jobs. Add consumables, energy and routine maintenance over the same period, then divide total costs by the expected number of accepted pieces. Include a consistent share of equipment and installation costs if you are comparing the overall investment.
A second loading station may justify its cost on recurring jobs if it frees operator time or adds accepted output during a shift. Compare a typical week and a peak week to see how often that additional capacity would be used.
Use the same checklist for every quotation and review it again after the machine trial.
Evaluation Area | What Buyers Should Verify |
Product and transfer | Actual garment, artwork dimensions and material instructions |
Output target | Accepted pieces per hour or shift on a representative job |
Station layout | Whether loading and alignment can overlap with pressing |
Platen and access | Usable print area, flat contact and included platen options |
Compressed air | Required inlet pressure and flow during simultaneous use |
Power and clearance | Electrical configuration, machine movement and service access |
Operator controls | Start and release sequence, safeguards and operator training |
Production trial | Repeat results and acceptance checks using real materials |
Parts and service | Replacement part availability and written support terms |
Changeovers | Time to switch platens, artwork and process settings |
Operating cost | Setup, utilities, labor, rework and maintenance |
When any of these details remain unclear, ask the supplier for written confirmation or a demonstration before approving the configuration.
Ask what garment, transfer, staffing and finishing steps were included. A pieces-per-hour figure is easier to assess when you know how it was measured and how many pieces passed inspection.
Confirm the required inlet pressure and air consumption for the quoted model, along with the exact voltage and included platens. Ask for a revised quotation if the product listing and the configuration sheet disagree.
Request a continuous demonstration showing loading, pressing, unloading and a platen change if it matters to your work. Check that the machine and accessories shown match the quotation.
An existing shop air system can supply the press if it meets the model’s requirements at the inlet during production. If the site lacks suitable compressed air, include a correctly sized compressor in the installation plan.
On suitable models, one operator can prepare one station while the other is pressing. Test with your normal staffing and check how much time is needed for alignment, unloading and peeling.
A compatible flat press can be used for several transfer methods. Verify the substrate and consumables for each process, record the approved settings separately and check a first piece after switching.
Use the transfer supplier’s recommended range and inspect the sample. If adhesion is uneven, check dwell time, temperature and platen contact as well as pressure. A seam under the print area may keep the transfer from sitting flat.
Send the product and transfer type, largest artwork dimensions, typical and peak batch sizes, output target, site power and air details, and any accessories you need. Include the materials and placement reference if you would like to arrange a test.
Pneumatic operation can make repeat orders easier to run when the press, the air supply and the operator’s workflow are matched to the job. Use a representative batch to compare finished quality and accepted output, then confirm the configuration and support terms in writing.
If your operators can stage the next garment during pressing, the HEAT PRESS LEADER 40 × 50 Dual Pneumatic Heat Press Pro is one configuration to evaluate.